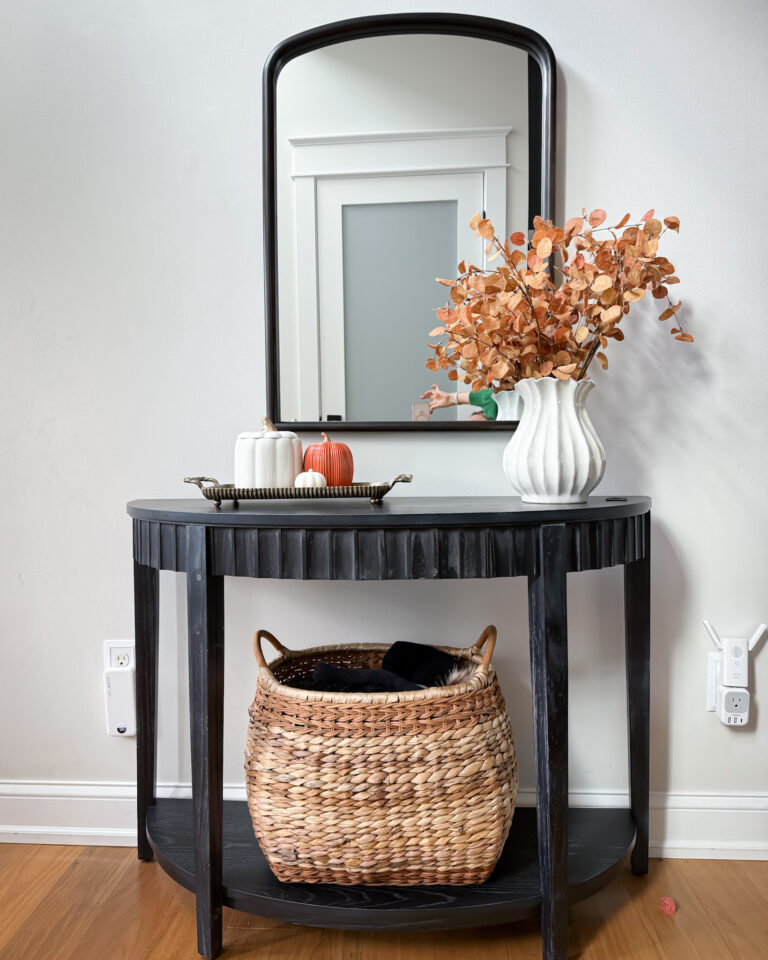
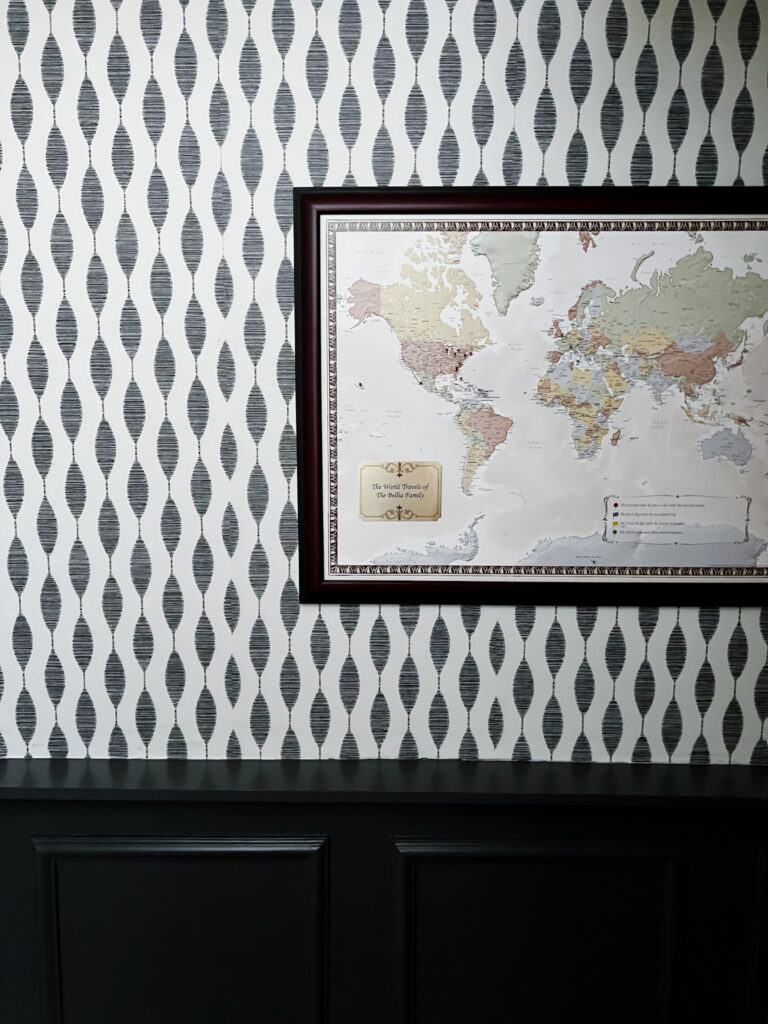
This little space is our house has always felt drab to me, and I’ve been on the hunt for a solution. So, I headed over to Amazon and decided to give Peel and Stick wallpaper a try! And let me tell you, it was a game-changer. The install process was a breeze, taking only about an hour, and the results are absolutely stunning. I couldn’t be happier with how my space has been transformed!
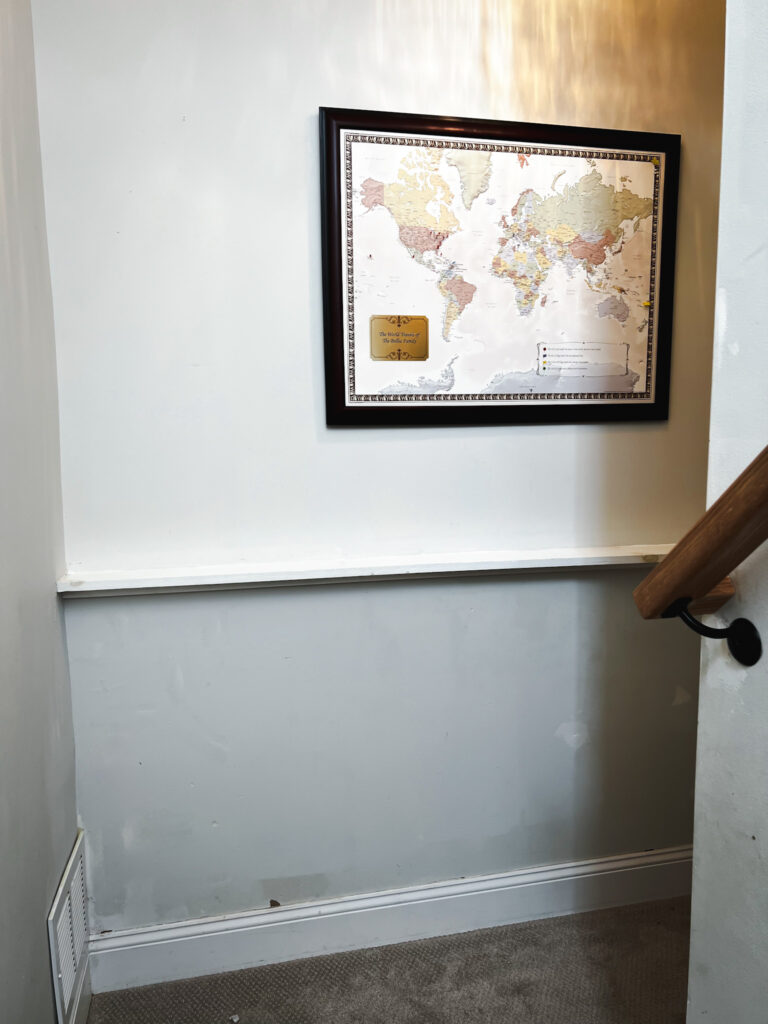
BEFORE
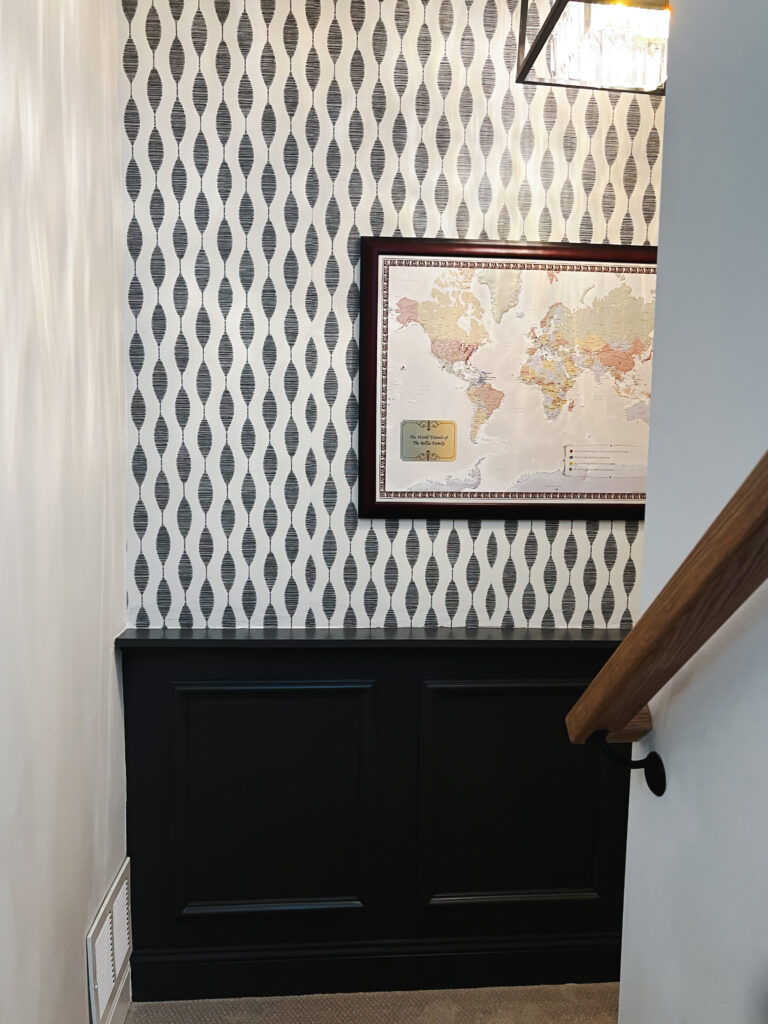
AFTER
Amazon Wainscoating
Initially I had hired a contractor to instal board and batten in this space. However, behind the drywall is a concrete wall so he wasn’t able to drill nails into the boards to adhere them to the wall. When he tried using a contractor adhesive, they kept coming off because the wall is slightly warped. So I need to abort that design plan and figure out something else that could work for this space.
I did a ton of research on Amazon and came cross these prefab wainscoting panels. They’re fulling assembled and primed so all you have to do is adhere to the wall. I used Loctite Construction Glue and it worked like a charm!
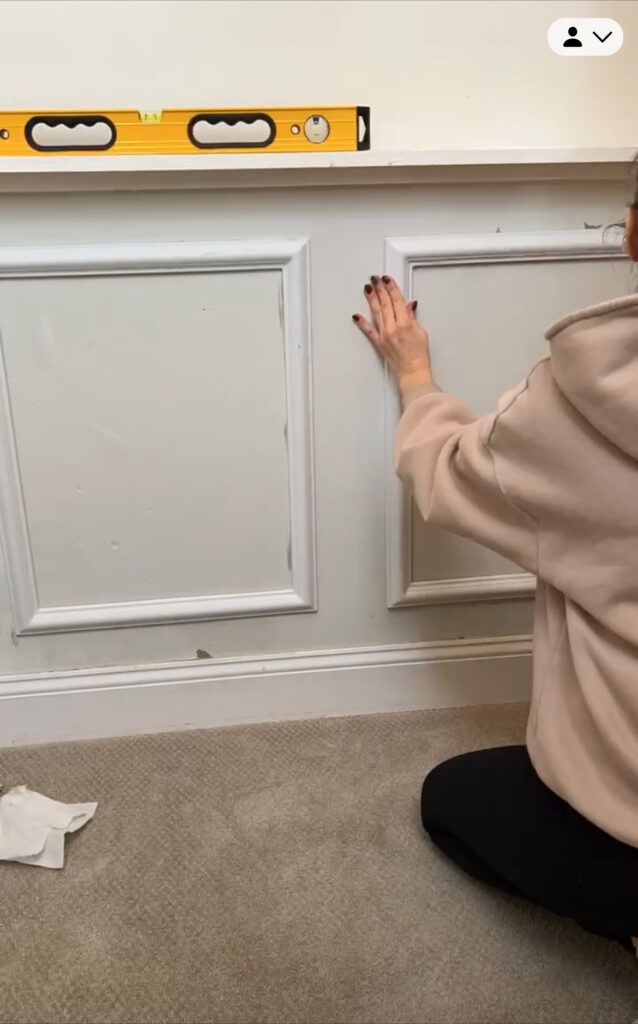
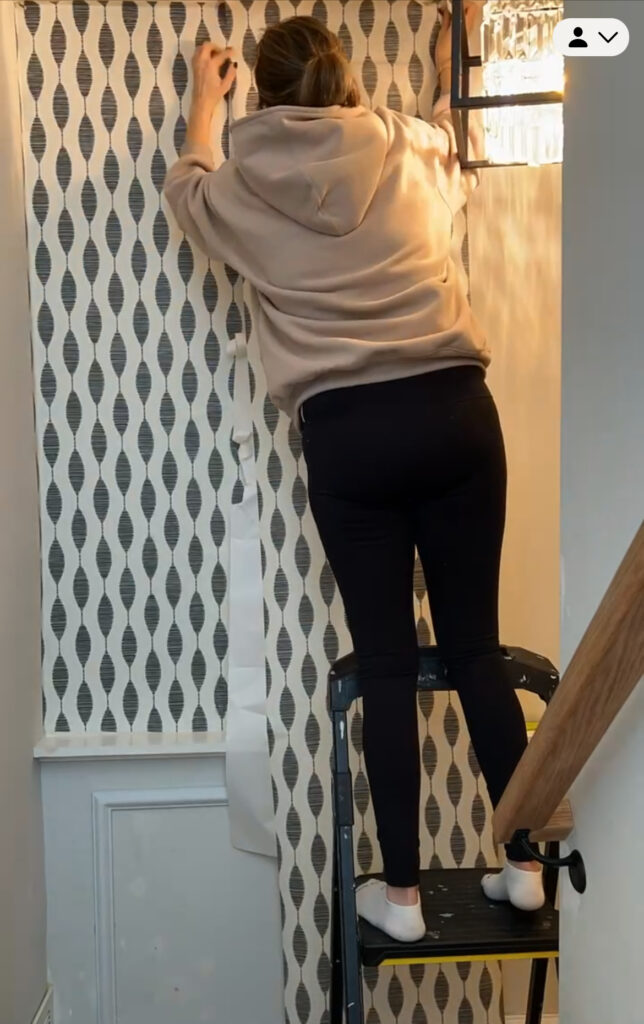
Installing the Peel N Stick Wallpaper
PRO TIP: A helpful tip to achieve a seamless wallpaper installation is to make sure to overlap the wallpaper by at least 1 inch. This will ensure that the design aligns perfectly and any seams are undetectable to the eye. Don’t forget to overlap the wallpaper by 1 inch both on the ceiling and bottom for trimming errors. These small extra steps will make a huge difference in the overall appearance of your wall!
Paint
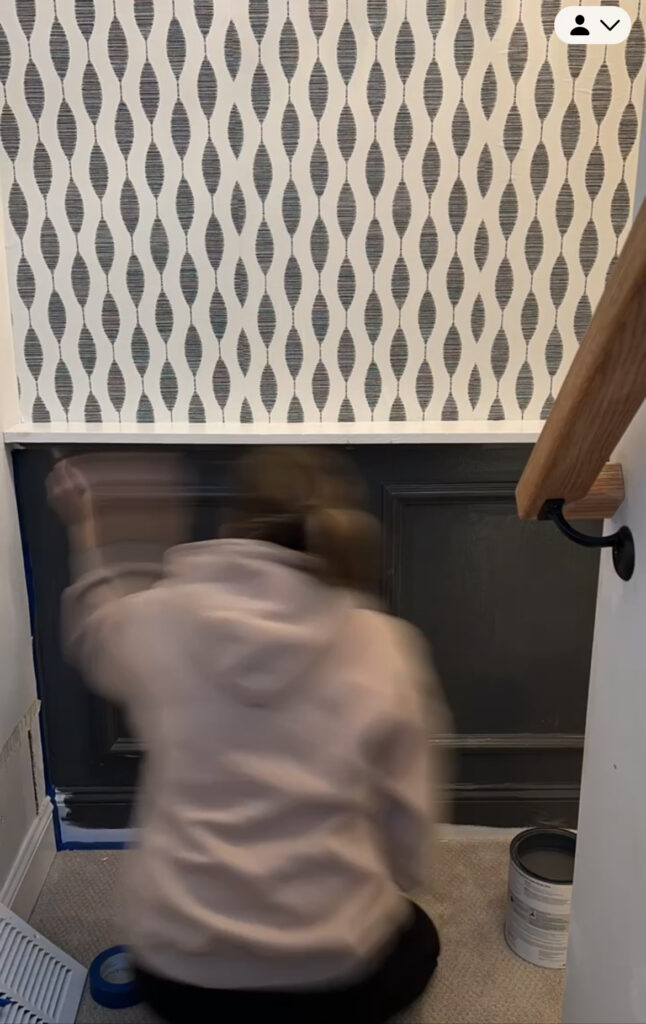
Before I painted (and after the Loctite Construction Glue dried), I caulked the wainscoting seams. This was a simple step that made it easier to paint while also cleaning up the gaps left from the glue.
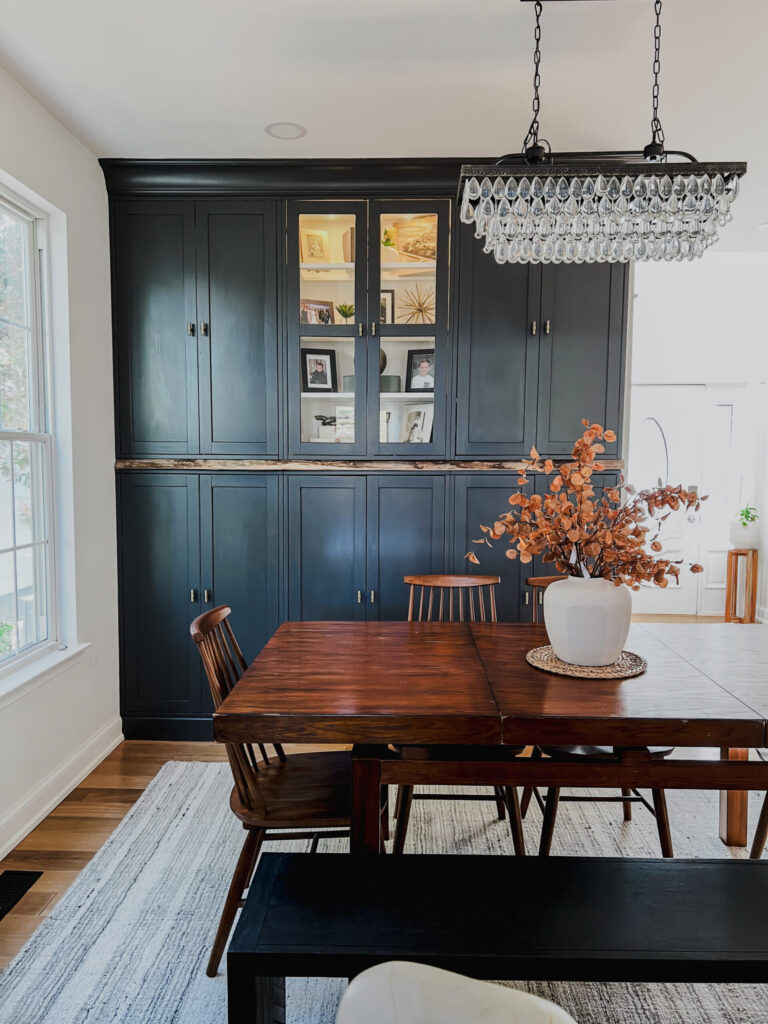
Paint: I used a satin sheen paint by Benjamin Moore called Wrought Iron. It was the perfect hue — not too dark, but also extremely rich in hue.
Final Product!

SHOP
THE POST

PIN FOR LATER
AFFILIATE DISCLOSURE
Sweet Motherly participates in affiliate programs, including Rewardstyle and the Amazon Associates Program. Sweet Motherly earns commissions from qualifying purchases made through links posted.
