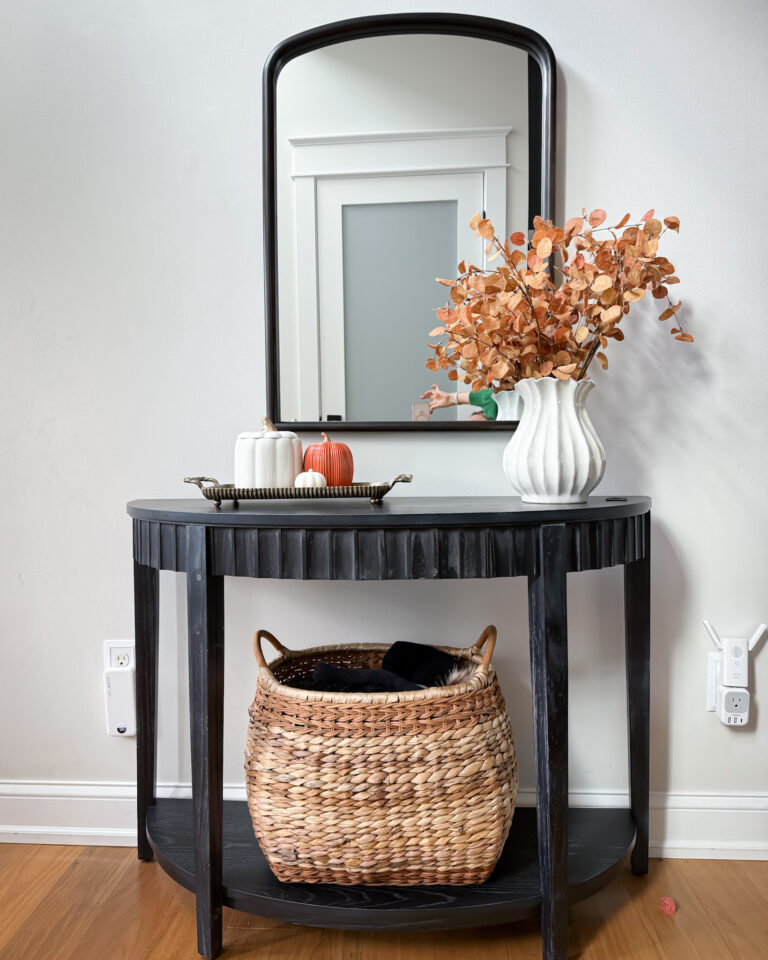
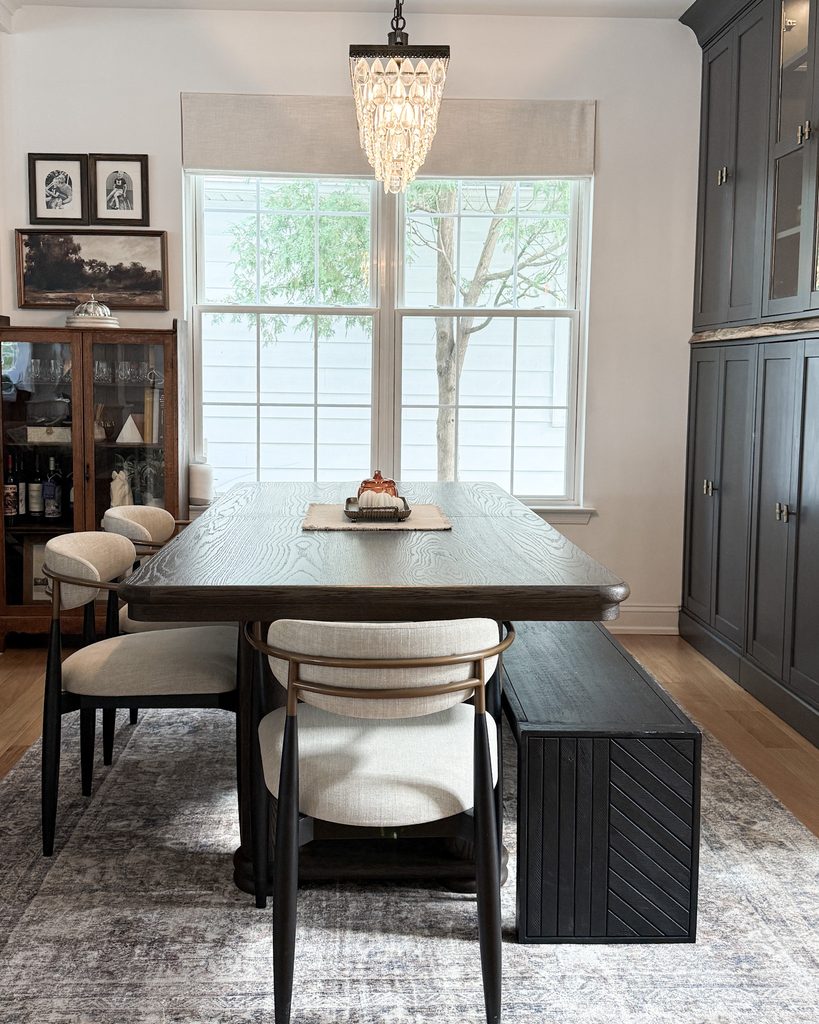
I really wanted custom built-ins in our dining room. However, I did not want to pay the premium price tag for custom built-ins
I did what I’ve done in almost every room of our house. I started with an affordable base: IKEA Havsta cabinets. This setup is the IKEA Havsta hack that elevates the room.
Today, after a few years and five upgrades, the wall looks fully customized.
Before Sweet Motherly was my full-time job, I spent years working in design. If there’s one thing it taught me, it’s that expensive looking rooms usually come down to the finishing, not the price tag. Here’s everything I did to turn this IKEA cabinet hack into custom looking built ins on a budget.
This post contains affiliate links. If you buy through them, I may earn a small commission at no extra cost to you.
Ikea Havsta hack : Why I Chose IKEA Havsta Cabinets for Built-In Storage
I lived with this wall for a long time before doing anything. It was functional, but it wasn’t using the space well, and with two boys, we can always use more storage.
Following a Pinterest deep dive, I landed on the IKEA Havsta line. Ultimately, the deciding factor was depth. I didn’t want anything deeper than about 14 inches so the cabinets wouldn’t crowd the dining room, and Havsta fit the bill. As a bonus, the glass-door upper cabinets emerged as the project’s star (more on that below).
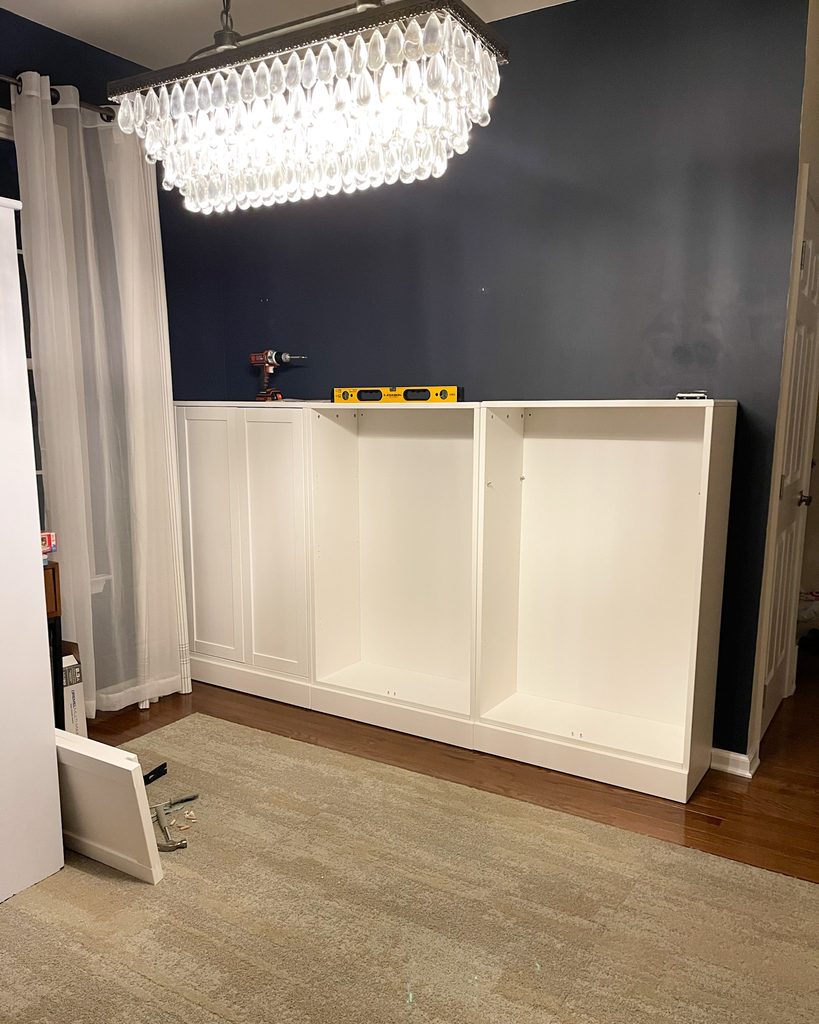
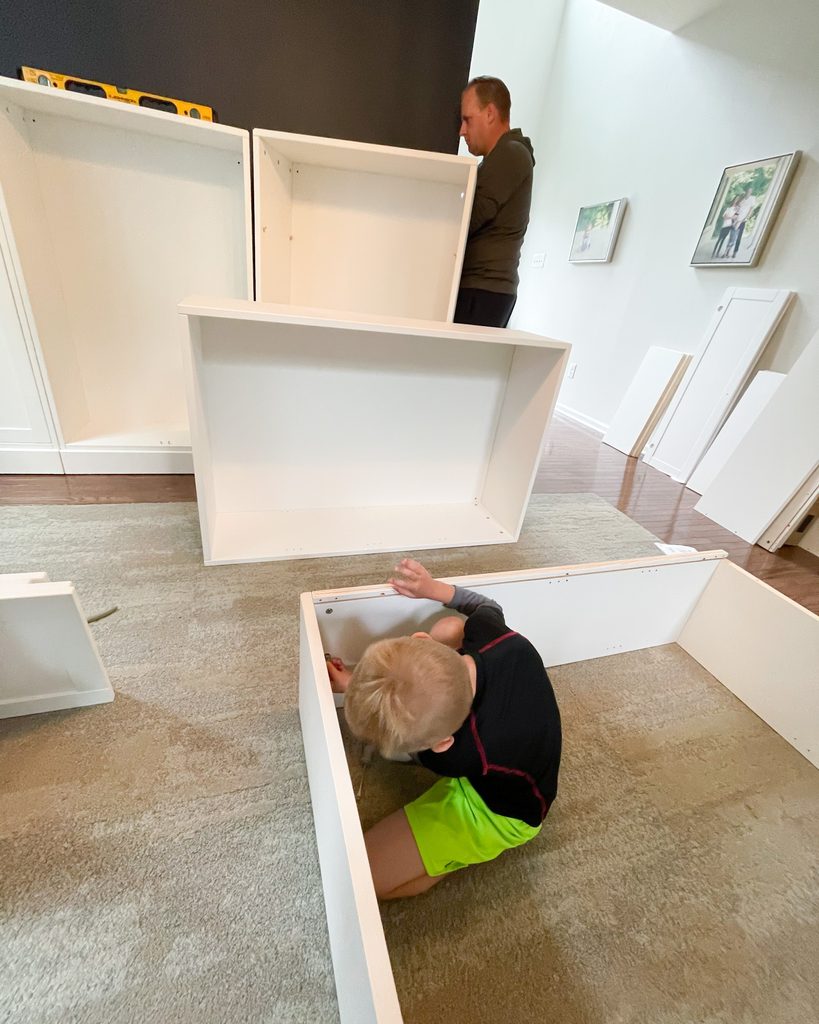
Everything arrived in about 10 flat boxes. Assembly and installation took us roughly 4 to 6 hours, with my then 6-year-old as my assistant. That may explain the 4 to 6 hours!
Quick tip: Anchor every unit to the wall. Because kids are in the house, this one isn’t optional.
5 Upgrades That Make IKEA Cabinets Look Custom
Once they were assembled and installed, the cabinets looked like nice IKEA cabinets. Good, but nobody was mistaking them for custom. However, these are the changes that closed the gap.
1. Paint Them a Rich, Moody Color
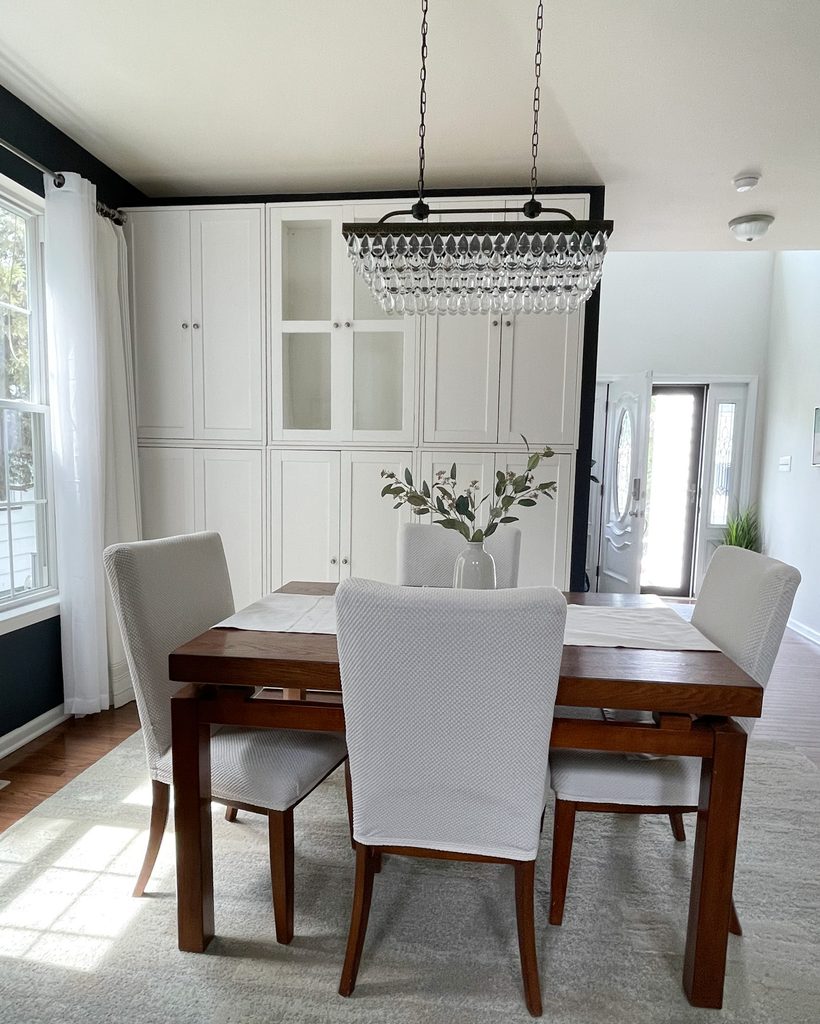
Our cabinets started out white. After our first-floor renovation, I realized all that white wasn’t giving the room any depth, so I went dark.
I painted the units Iron Ore by Sherwin-Williams (SW 7069), color-matched at my local Benjamin Moore store. It’s a soft black with some charcoal in it, so it feels rich and moody without the harshness of a true black. The crystal chandelier pops against it, and the wood tones in the room feel warmer.
Why it works: A deep color hides the little tells of flat-pack furniture, like seams and shelf-pin holes, so your eye reads one solid piece instead of separate boxes. If you paint IKEA furniture, ask for INSL-X BY BENJAMIN MOORE Trim & Cabinet Paint. Because this stuff is durable and we’ve had zero issues with chipping over the years. It also requires no sanding, no primer and goes on super smooth leaving a factory-like finish.
2. Add Reclaimed Wood Between the Upper and Lower Cabinets
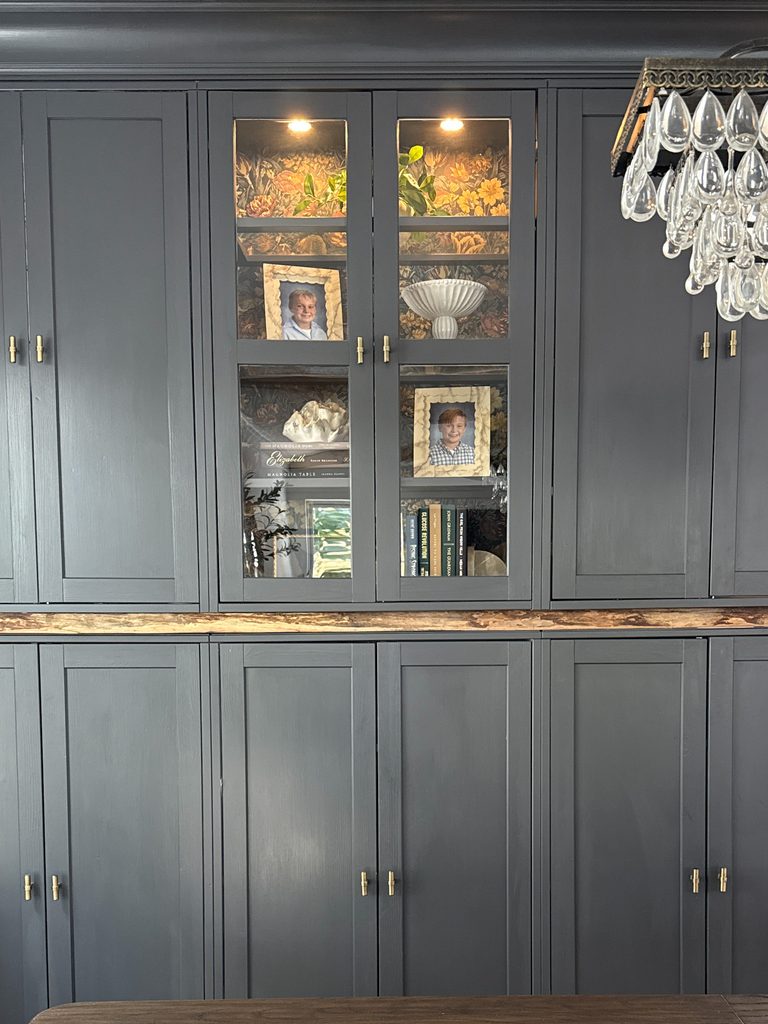
Where the upper and lower units meet, I added a raw-edge piece of reclaimed wood. It breaks up the solid color and brings in warmth and character that painted cabinets can lack on their own. I love how that organic edge moves across all those straight cabinet lines.
It also changes how the whole unit reads. Instead of two sets of cabinets stacked on top of each other, it looks like one piece of furniture with a real wood counter.
Tip: Pick wood with visible grain and a few imperfections. The more natural it looks, the better it balances a painted finish.
3. Add Lighting to the Center Upper Cabinet
Lighting is one of the clearest signs of custom cabinetry, and it’s one of the easiest things to add after the fact.
I put lighting in the top middle cabinet, the one with glass centered between the other two uppers. Lighting only that cabinet creates a focal point and gives the wall a warm glow at night. It instantly looks more expensive.
Tip: Stick with warm white light. Cool, bright light can make dark paint look flat.
4. Line the Glass Cabinet With Wall Covering
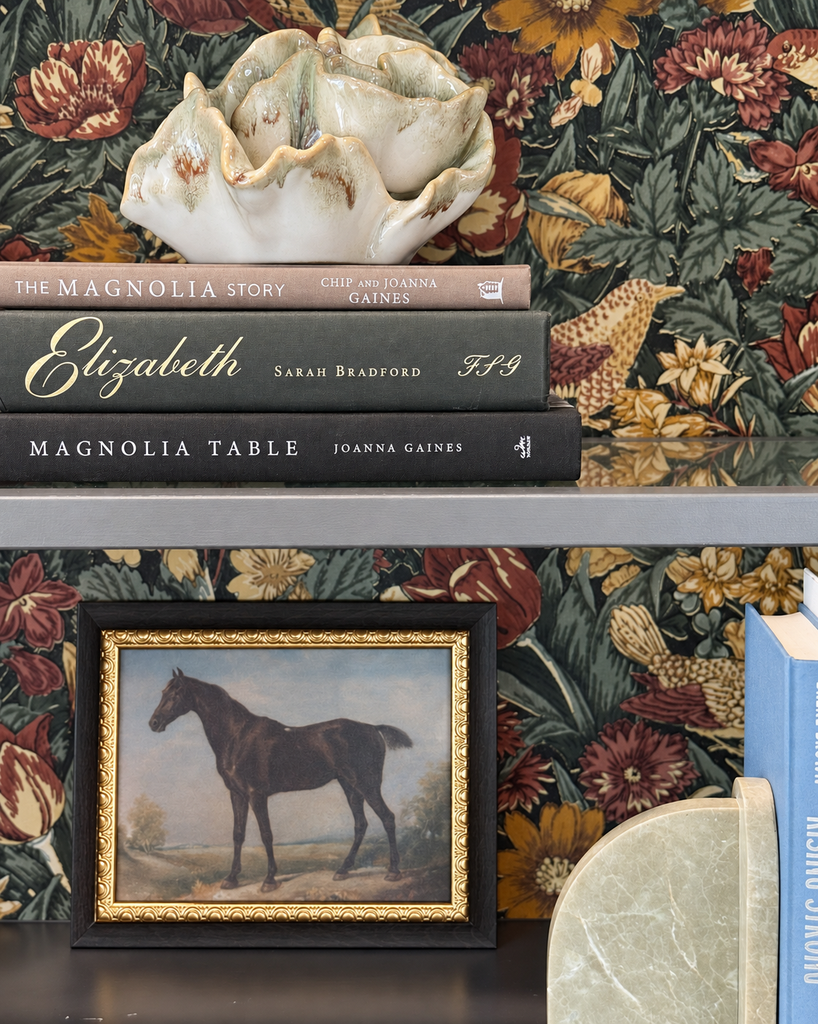
Inside that same lit glass cabinet, I added wall covering to the back panel. You can see it through the glass, it gives the cabinet depth, and it works with the Iron Ore so everything feels intentional. Paired with the lighting, that one cabinet became the showpiece of the wall.
Tip: Keep it to one or two cabinets. Lining every section gets busy fast. Keeping it to the center makes it look like a design choice.
5. Finish It With Crown Molding
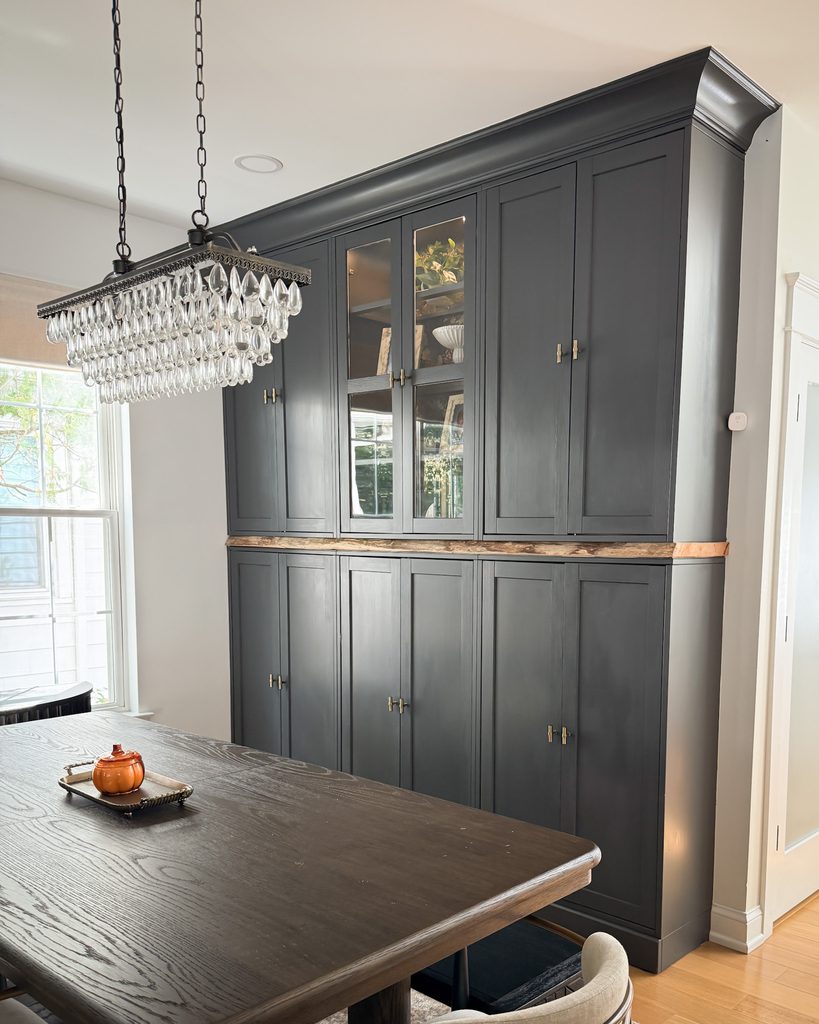
When I first installed these cabinets, I wrote that crown molding was “very last on the list” because we’d need to hire someone. It took a while, but I finally brought in a handyman to add crown molding across the top.
This is the step that makes them look built-in. Crown gives the cabinets a finished top edge, so they look like part of the house instead of furniture pushed against a wall.
Hiring out one step doesn’t make it any less of a DIY. I did the parts that were easy to do myself and paid a pro for the part that needed precise cuts and the right tools.
What I Used (Shop the Look)
Here’s everything from this project in one place.
- IKEA Havista cabinets: x5 cabinets | 1 Glass Unit
- Paint: Iron Ore, Sherwin-Williams SW 7069 satin sheen
- Reclaimed wood: We found at a local shop in South Jersey called Just Dig It.
- Cabinet lighting
- Wall covering
- Crown molding: Handyman supplied this (Home Depot)
- Crystal chandelier: Shop it here
- Dining table: Shop it here
- Black bench: Shop it here
IKEA Havsta Hack FAQs
How long does it take to install IKEA Havsta cabinets?
Ours took about 4 to 6 hours to assemble and install. The paint, wood, lighting, peel and stick wall paper and trim came later, one project at a time.
Can you paint IKEA Havsta cabinets?
Yes. I painted ours from white to Iron Ore. Clean the cabinets and use Benjamin Moore’s specialty paint for cabinets, Insl-X® Cabinet Coat.
How do you make IKEA cabinets look built-in?
Add crown molding so they look attached to the house, paint them a color with some depth, bring in a natural material like wood for warmth, and add lighting. Those four details do most of the work.
Is an IKEA built-in hack cheaper than custom built-ins?
Yes, by a lot. Recreating our wall today costs under $3,300, handyman included. A typical custom wall unit runs about $7,500, so that’s less than half.
Final Thoughts on My IKEA Built-In Hack
You don’t need a custom budget to get a custom look. You need a solid base and a few smart finishing touches. If you’re starting small, paint is the easiest place to begin. This wall came together one upgrade at a time over a few years.
Affordable doesn’t have to look affordable.
Want my step-by-step guide to turning IKEA cabinets into custom-look built-ins? Grab it free HERE.
Want to see more of the house? Here’s our first-floor before and after and my dining room inspiration board on Pinterest. For more budget home projects and the finds that make them doable, subscribe to my Substack
xx, Kim
AFFILIATE DISCLOSURE
Sweet Motherly participates in affiliate programs, including Rewardstyle and the Amazon Associates Program. Sweet Motherly earns commissions from qualifying purchases made through links posted.